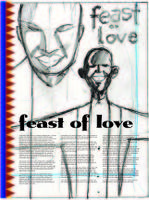
 This is a rough rundown of how I work through an airbrushed illustration. The first step is the rough thumbnail. Here it is with type and side bar pattern put in by Colleen, my designer/art director/wife. No shit, she does all that and garden! Since her type sense is way better that mine, and we work back to back, It's for the best that she does the type at this point. The thumbnail is rough here, in my previous post you can view the sketch. Sketches are done to scale, very tight, so the designer can use them for placement. Saves time for both of us.
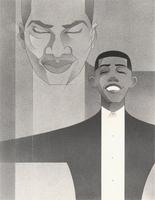
 After the sketch is approved I go to the other side of the basement, the convetional art side, (with all my books and scavanged oak drawing table) and airbrush the art. I've been airbrushing for years, but still seem to learn something once and a while, or maybe I just have a really bad memory. In and event, I try to make a nice clean piece of art. This one came out beautifully.
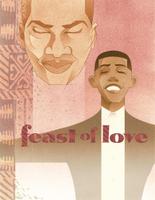
  The last step is to come back over to the computer side of the basement, scan the art, and add color in Photoshop. This one went a bit further. I added the pattern from a shirt I scanned. I removed the side bar from the scan, and brought in more of the shirt pattern. It gaves the illo more depth, things don't look so stuck on.
 Working for Black Issues Book Review is rewarding. I've worked with four art directors. Each one has given me room to really push what I want to do. One day I'll post the "Literary Blackface" project done for BIBR. Lots of sketches and research for a really fun series of illustrations.
More airbrushed illustration like this can be seen at this photo album.
Stan


No comments:
Post a Comment